This article is brought to you by Lizzsews.
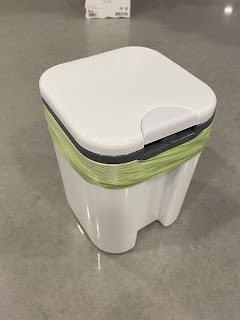
Today's article is just me using my creative brain around my house. I have this small compost bin that I use and I wanted to add something to the top of it; label everything challenge am I right? I will guide you through how I added a trash bin design to my compost bin. Follow along with this project and share your result in Lizzsews Facebook group.
What I used:
- Compost bin
- Cricut
- Lysol wipe and paper towel
Steps I took:
I started by cleaning off the top of the compost bin with a Lysol wipe and drying it with a paper towel.
I cut out a trash bin design on the removable vinyl, which you can find on Cricut design space with this image ID: #M8944E3D.
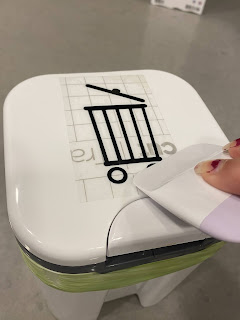
I weeded the design and cut out my transfer tape to size. I peeled the backing off of the transfer paper, held each side firmly and placed it on top of the vinyl. I burnished (polish by rubbing, smooth/scrape) the vinyl onto the transfer tape with the scraper tool.
I then peeled the transfer tape up ensuring that all the vinyl was attached.
Next was placing the design onto the compost bin lid. I placed the transfer tape with the vinyl onto the lid in the spot that I wanted and burnished it. And I peeled up the transfer tape.
Recommended read: Birthday card: How I made article 9
Leave a comment below and let me know if you did this notebook cover design! Don't forget to subscribe to get notified for my next blog post :)


Comments
Post a Comment