This article is brought to you by Lizzsews.
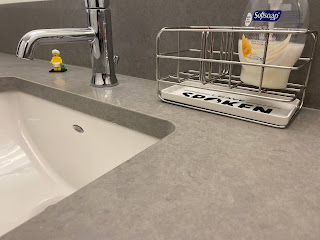
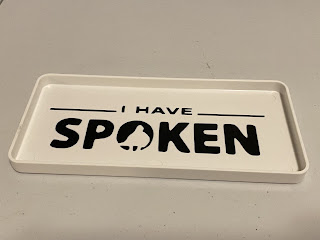
In today's article, I will guide you through how I spiced up the soap tray in my bathroom. An ‘I Have Spoken’ (Star Wars reference) soap tray. Follow along with this project and share your result in Lizzsews Facebook group.
What I used:
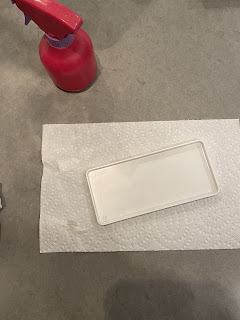
- Soap tray
- Isopropyl alcohol
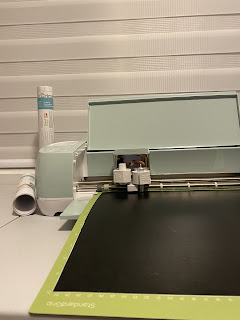
- Cricut
The steps I took:
To begin, I cleaned the soap tray with isopropyl alcohol to ensure that I had a clean and clear surface to put my design on.
After a decent amount of designing, and tweaking the design, I created the 'I have spoken' Mandalorian design.
Recommended: I have spoken -Kuiil by Lizzsews
I cut the design out of premium vinyl, removable matte. (I didn’t have permanent vinyl on me at the time).
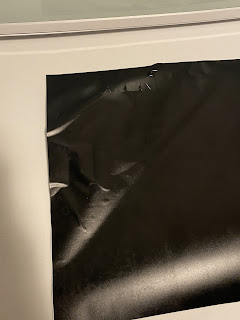
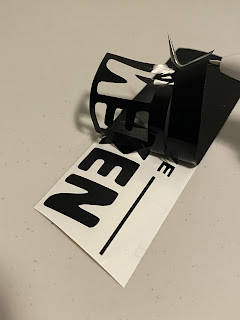
Next was applying the transfer tape. I cut it to size, peeled off the backing and held it by each side firmly.
I burnished (scrap/smooth, definition: polish by rubbing) the design (vinyl) onto the transfer tape.
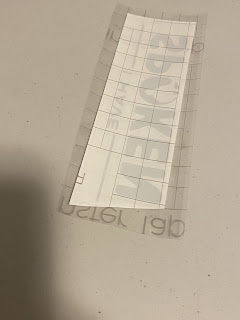
II proceeded to place the transfer tape, with the vinyl, onto the soap tray.

I burnished the vinyl onto the soap tray using the scraper tool and peeled the transfer tape up slowly and carefully. If any vinyl was staying on the transfer tape, I placed that spot back down and burnished it again.
Recommended read: Notebook cover: How I made article 4
Leave a comment below and let me know if you made this soap tray! Don't forget to subscribe to get notified for my next blog post :)
Comments
Post a Comment